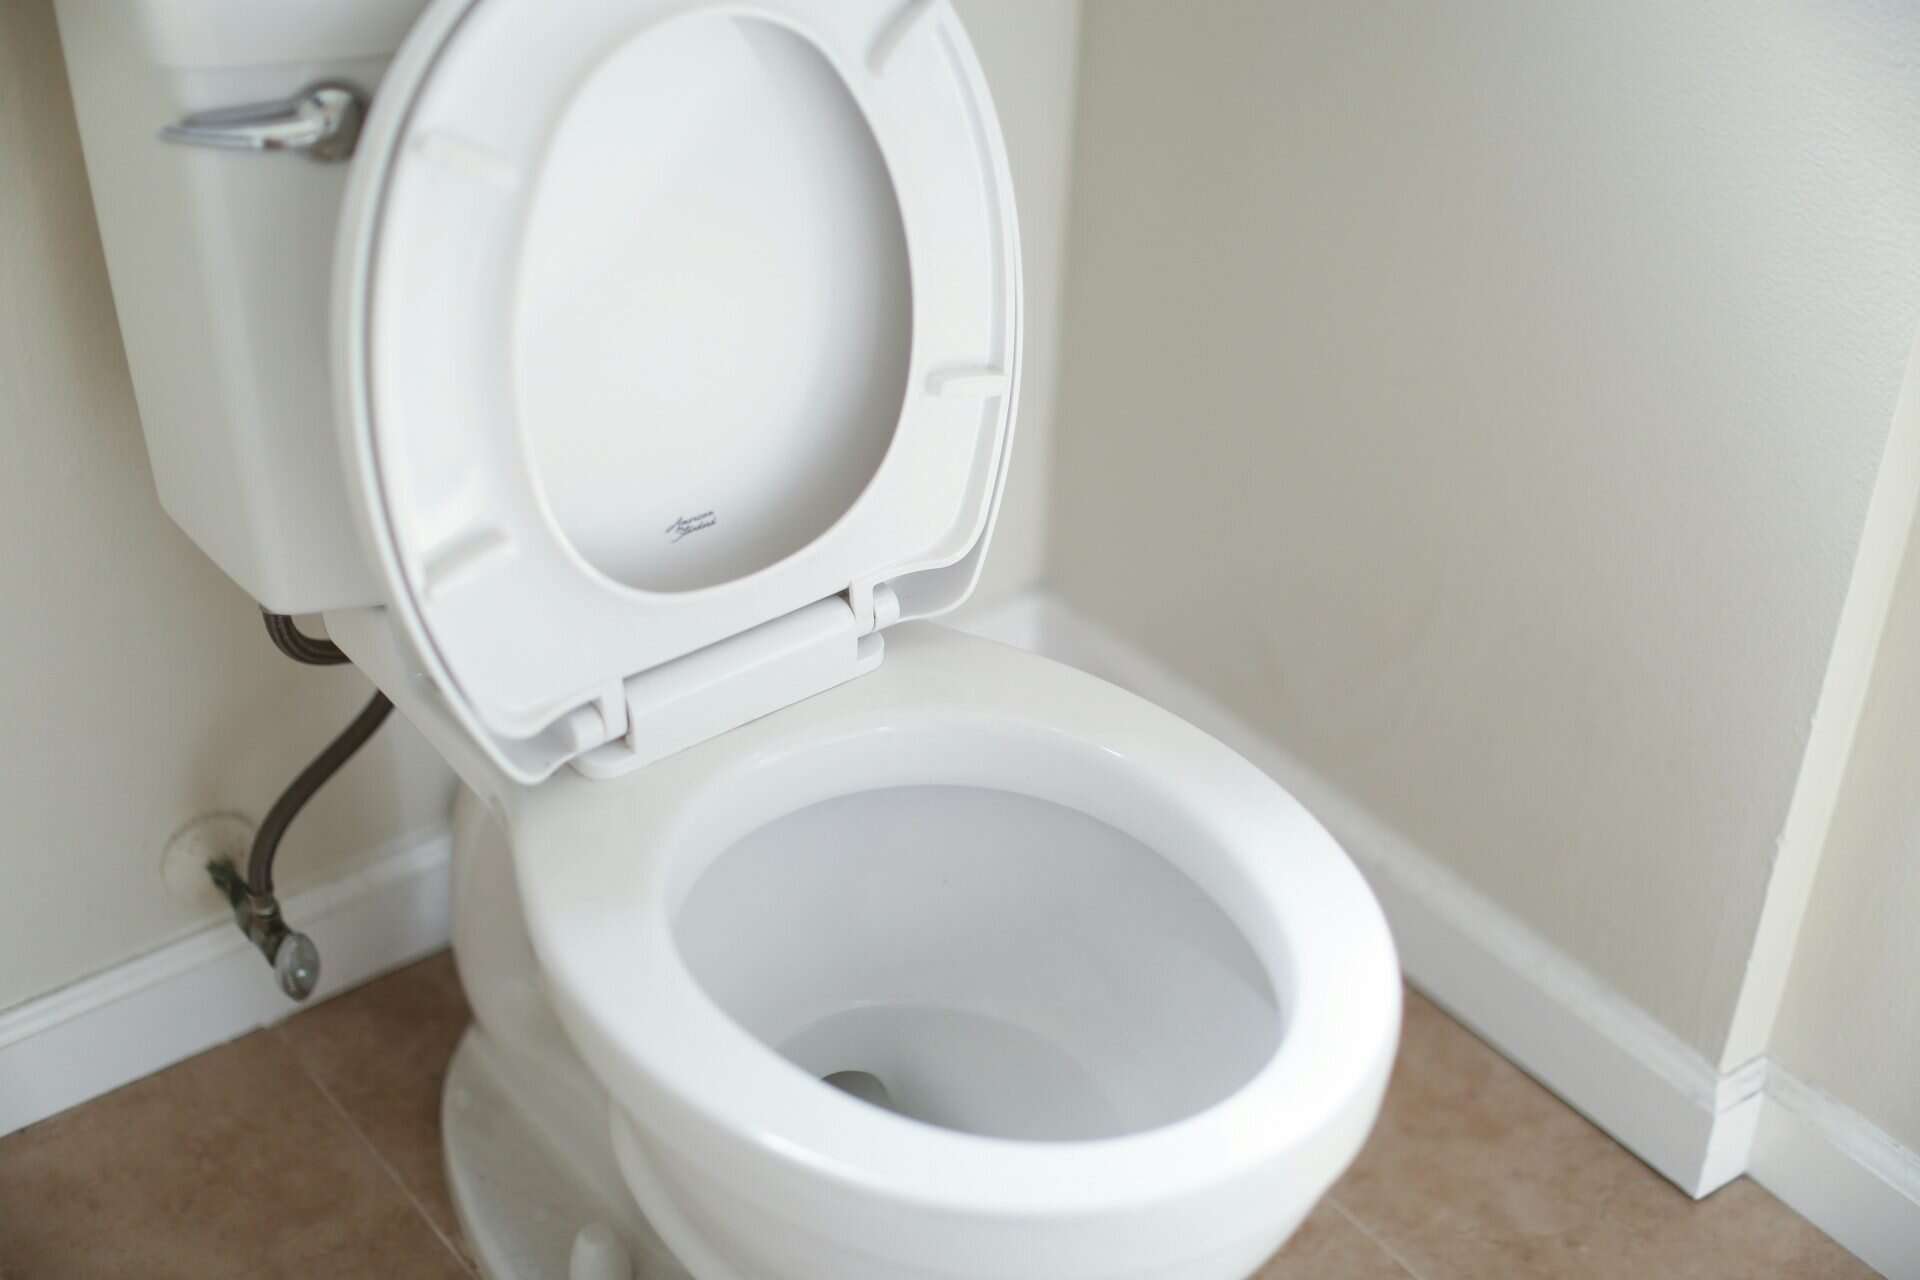
That moment when you press the flush handle and nothing happens. Or worse, it moves so slowly you’re left standing there wondering what’s gone wrong. It’s enough to trigger panic in any household. A toilet that won’t flush properly disrupts your entire day, creates those awkward moments when guests are over, and leaves you staring at the cistern wondering if this is going to cost you a fortune in plumber fees.
But here’s the thing. Most toilet flushing problems aren’t actually that complicated to fix. You don’t always need to call someone out. The key is knowing what you’re actually looking at and understanding when you can handle it yourself versus when you genuinely need a professional. We’ll walk you through every common cause of poor flushing, show you practical fixes you can try, and help you figure out when it’s time to pick up the phone.
Let’s get that toilet working again.
Understanding Your Toilet’s Flush System
Before we dive into fixes, it helps to actually understand how your toilet works. Most Australian toilets are gravity fed, which means they rely on the weight of water to create the pressure and suction that pushes waste through the trapway and down into your sewer line.
When you press the flush handle, a chain lifts a rubber flapper at the bottom of the tank. The lift chain or rod is attached to the flapper and opens it when you push the button or pull the handle. This lets water that’s been sitting in the toilet cistern rush down into the bowl. The flushing process starts as water moves from the toilet cistern through the flush valve and flapper, rapidly entering the bowl to clear waste. The sudden volume of water creates something called a siphon effect. That’s what sucks the contents of the bowl down and away. Once the water level drops below a certain point, air gets back into the pipes and the siphon breaks, which stops the flow. Unobstructed pathways, such as vent pipes, are important to ensure the flushing process works efficiently.
Now, modern Australian toilets are water efficient dual flush systems. They typically use around 4.5 litres for a full flush and 3 litres for a half flush. This is great news for your water bill, but it also means these systems have less room for error. A small problem like mineral buildup, a worn flapper, or insufficient water in the toilet cistern can noticeably affect how well it performs and cause weak flushes.
When you understand these components, you’re better equipped to figure out what’s actually going wrong when your toilet isn’t performing as it should.
Understanding Toilet Anatomy
If you’ve ever wondered why your toilet isn’t flushing properly, it helps to know what’s happening behind the scenes. Your toilet is more than just a bowl and a handle—it’s a carefully designed system with several key components working together to ensure proper flushing every time.
At the heart of it all is the toilet bowl, where waste is deposited. Connected to the bowl is the toilet tank (or cistern), which stores the water needed for each flush. Inside the tank, you’ll find the fill valve, which controls the water supply and refills the tank after every flush. The overflow tube keeps the water level in check, preventing accidental spills if the fill valve malfunctions.
When you press the flush button or handle, the flushing mechanism springs into action. The flush valve opens, and the rubber flapper lifts, releasing a surge of water from the tank into the bowl. This rush of water creates the flushing power needed to clear waste and send it down the drain lines. If any of these key components—like the fill valve, flush valve, or flapper—aren’t functioning correctly, you might notice a weak flush, incomplete flush, or even a non flushing toilet.
Regular toilet maintenance is essential for keeping your toilet flushing correctly. Check the water level in the tank to make sure it’s about an inch below the overflow tube, and ensure the fill valve is working smoothly. Cleaning the toilet bowl with a good toilet bowl cleaner helps prevent mineral deposits and mineral buildup, which can affect flushing performance and clog the rim jets. If you notice a clogged toilet or slow draining, a toilet auger can help clear blockages in the drain lines before they become bigger problems.
What you flush down the toilet also plays a big role in preventing flushing problems. Too much toilet paper, wet wipes, sanitary products, and other foreign objects can easily cause a clogged toilet or even damage your plumbing system. Stick to flushing only toilet paper, and use a waste bin for everything else.
In areas with hard water, mineral deposits can build up inside your toilet and pipes, affecting proper water flow and flushing power. Installing a water softener can help reduce this mineral buildup and keep your toilet performing at its best.
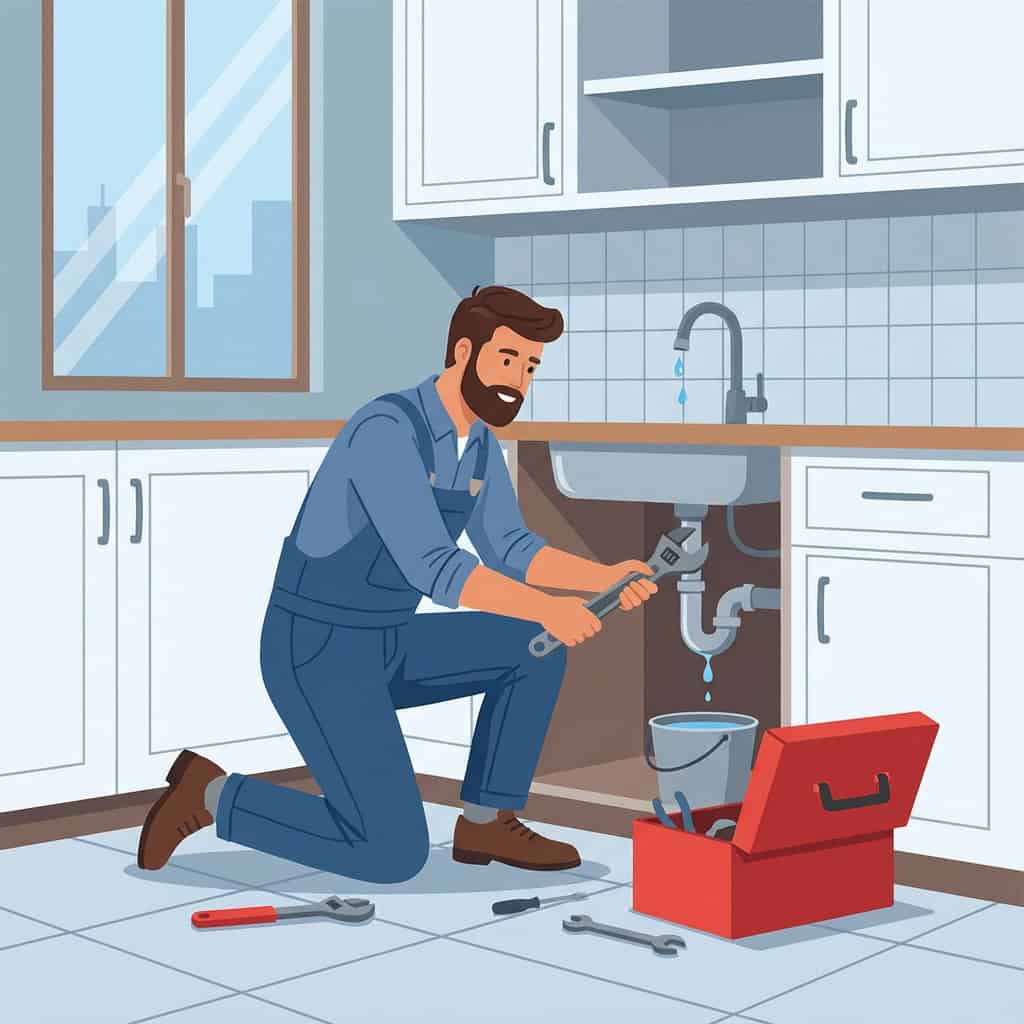
For more complicated issues—like a broken toilet, blocked vent pipe, or persistent flushing problems—it’s best to call a professional plumber. They have the expertise and tools to diagnose and fix issues with your toilet’s key components, ensuring proper flushing and protecting your home’s plumbing system.
By understanding your toilet’s anatomy and taking a few simple maintenance steps, you can keep your toilet flushing properly and avoid most common toilet problems.
Clogged Toilet or Drain: The Most Common Culprit
A clogged toilet is hands down the number one reason toilets don’t flush properly. When a clog is severe, it can lead to a toilet that won’t flush at all. When there’s a blockage somewhere in the bowl or drain line, water can’t escape freely. This results in a weak flush or water backing up into the bowl, neither of which is ideal.
If you ignore a clog, it can lead to a poorly flushing toilet and even more serious plumbing issues. Addressing clogs promptly can help you avoid costly repairs and water damage.
Cleaning the toilet bowl regularly helps remove mineral deposits and stains, which can help prevent blockages.
Signs You Have a Blockage
The telltale signs are pretty straightforward to spot. Water rises higher than normal when you flush, or it drains very slowly, or it doesn’t drain at all. If you’ve only flushed once and the water is already rising, stop flushing immediately. Repeated flushing can cause an overflow, and trust me, that’s going to be messier than the original problem.
Partial vs. Complete Clogs
With a partial clog, water still flows but it’s sluggish about it. You might notice the flush is weaker than usual or it takes several seconds for the bowl to empty completely. A complete clog blocks water entirely. The bowl either won’t drain or will drain only after you’ve let it sit for several minutes.
DIY Fixes: Plunging Correctly
The plunger is your first defence. But not all plungers are created equal. You need a flange plunger (the one designed for toilets), not a flat bottomed sink plunger. The flange creates a much better seal around the drain.
Here’s how to do it right:
- Make sure there’s enough water in the bowl to cover the plunger cup completely
- Place the plunger over the drain hole and press down firmly to create a good seal
- Push down and pull up vigorously for 20 to 30 seconds while maintaining that seal
- Lift the plunger away and check if the water drains
- Repeat if you need to
The vigorous motion creates suction and pressure that dislodges blockages. If plunging doesn’t work after several solid attempts, the clog is probably deeper in your drain line where a simple plunger can’t reach. That’s when you’ll need a toilet auger (basically a plumbing snake designed specifically for toilets).
Non Flushable Items Causing Blockages
This is the most common cause of clogs in Australian homes. Wipes, even the ones that say “flushable,” feminine hygiene products, cotton swabs, and excessive toilet paper all pile up and create blockages. In homes with water efficient toilets, even normal amounts of toilet paper can sometimes cause problems if it combines with other debris.
Make a household rule and stick with it: toilet paper only. Everything else goes in the bin.
Quick Troubleshooting Reference Table
| What You’re Seeing | Likely Cause | First Step |
|---|---|---|
| Water rises in bowl | Clog in trap or drain | Use plunger with firm seal. Ensure the toilet is cleaned and maintained to bowl properly, as this helps prevent blockages. |
| Weak or slow flush | Low water level in tank | Check water level against mark |
| Water trickling into bowl | Flapper leaking or worn | Inspect flapper for damage |
| Uneven flush pattern | Rim jets clogged | Soak tank overnight with vinegar |
| Multiple slow drains | Main sewer line blockage | Call professional plumber |
| Toilet refills on its own | Flapper leaking (phantom flush) | Replace flapper or adjust chain |
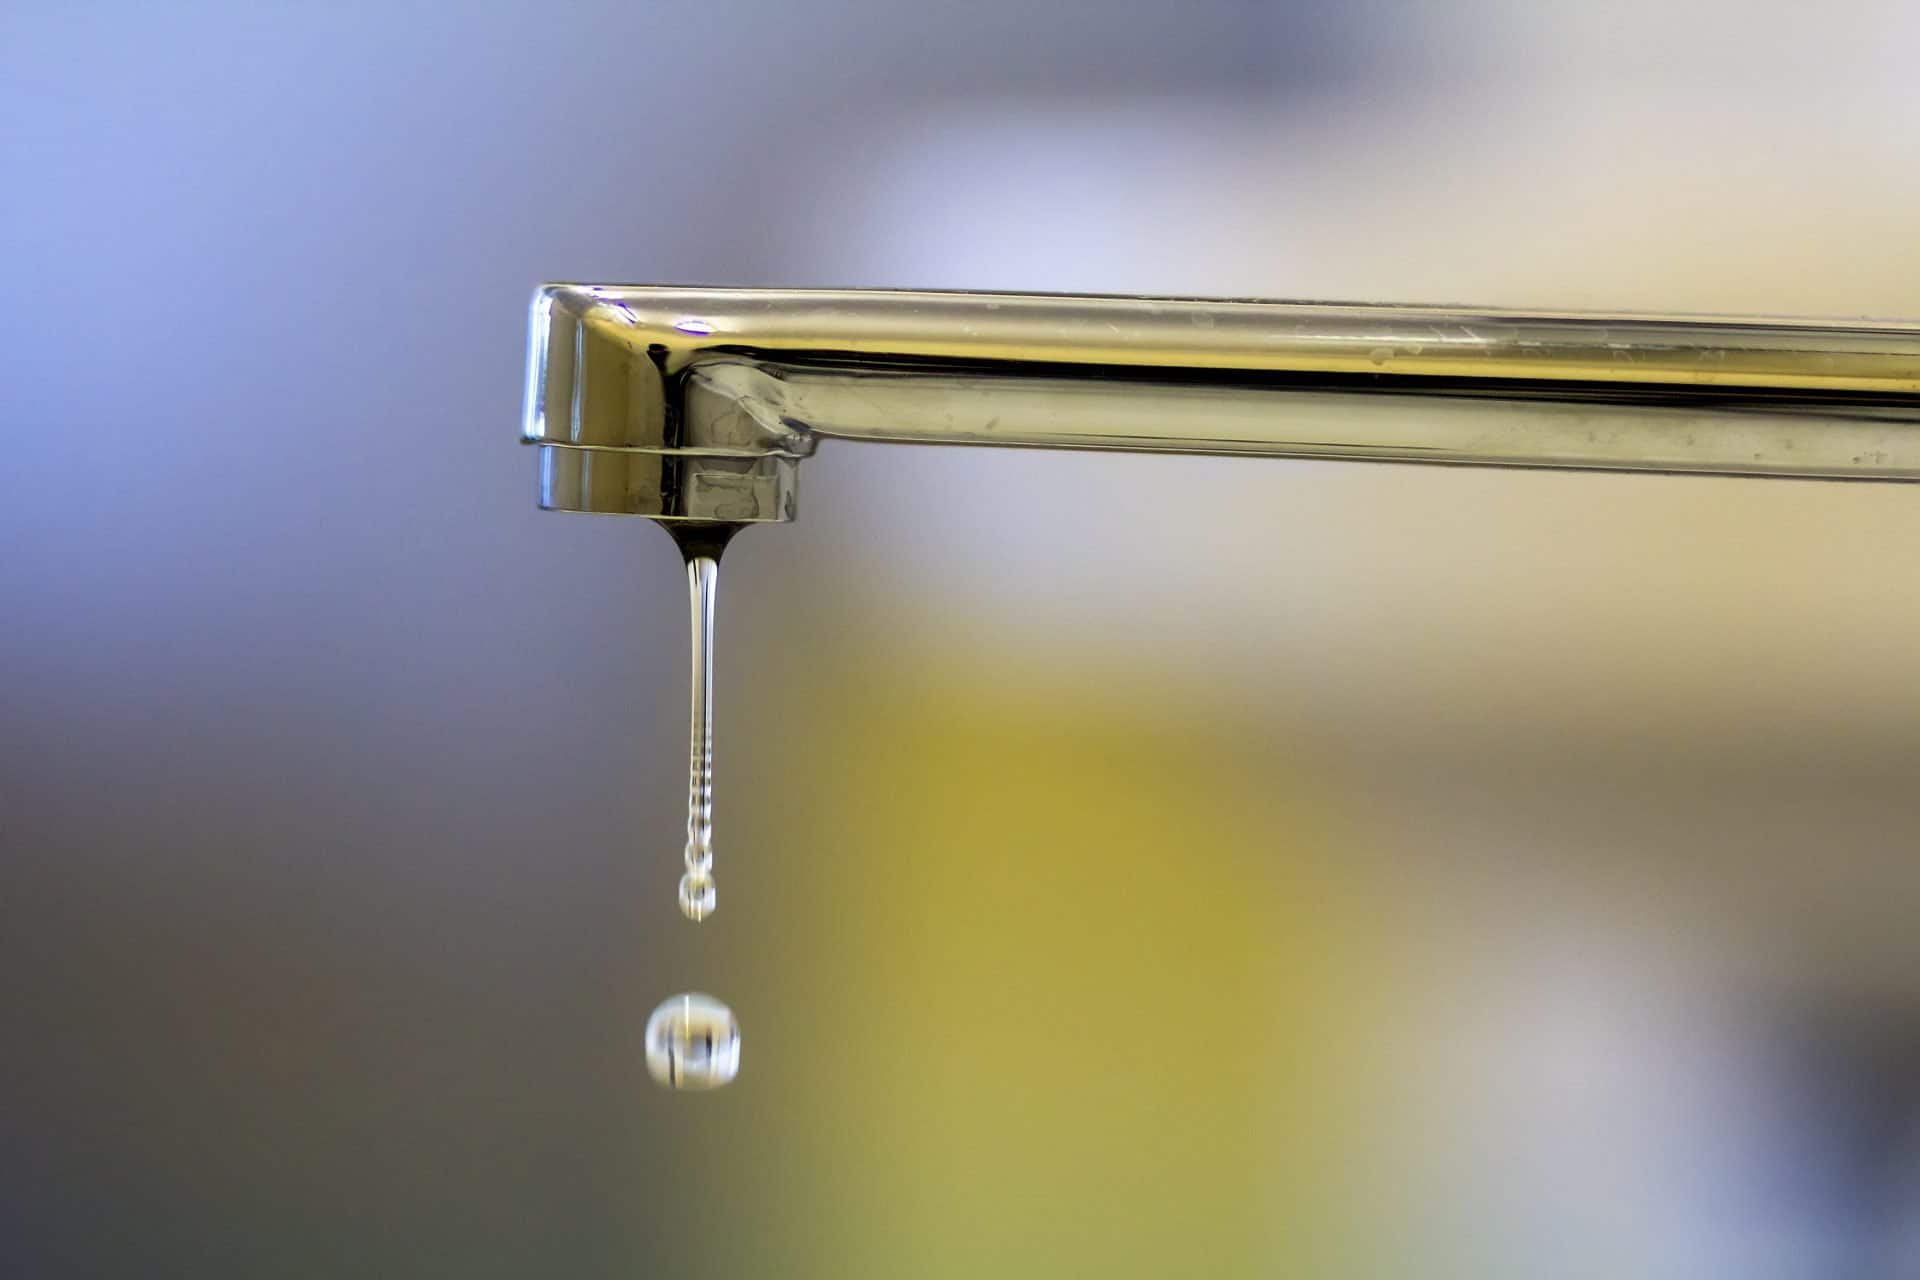
Low Water Level in the Tank: A Weak Flush’s Usual Suspect
If your toilet is flushing weakly and waste isn’t clearing on the first flush, or the water is trickling rather than rushing, low water level is often what’s happening. Your cistern needs enough water to create the pressure and volume necessary for a powerful flush. The float mechanism, specifically the float arm, can be adjusted to regulate the water level in the tank. Make sure the water reaches the mark near the overflow pipe—the vertical pipe in the tank that acts as a safety feature to prevent water from overflowing into the bowl. If the water level is too low, adjusting the float arm can help restore proper flushing performance.
How to Identify Low Water Levels
Pop the lid off your toilet tank and look inside. You’ll see a water level mark, usually a line on the inside of the tank or a label from the manufacturer. The water should sit approximately one inch below the overflow tube, which is that tall vertical pipe in the centre.
If the water level is noticeably lower than that mark, you’ve found your problem.
Checking Float Adjustment and Fill Valve Function
The float is the mechanism that controls water level. As water fills the tank after you flush, the float rises. Once it reaches a certain height, it signals the fill valve to shut off. If the float is set too low or isn’t functioning properly, the tank won’t fill to its proper level.
On older toilets, you’ll see a ball float connected by a rod to the fill valve. On newer toilets, you might see a cup style float that slides up and down a vertical tube.
Adjusting the Float Mechanism
For a ball float, locate the adjustment screw or clip where the rod connects to the fill valve. Turn the screw clockwise to raise the float level, which allows the tank to fill higher.
For a cup float, look for an adjustment screw on top of the float mechanism. Turn it clockwise to raise the water level.
Make small adjustments though. Turn the screw a quarter turn, flush the toilet, and check the water level. Repeat until it sits one inch below the overflow tube. You don’t want to overfill it.
DIY vs. Professional: Know When to Call the Plumber
| Issue | DIY Difficulty | When to Call |
|---|---|---|
| Plunging a clog | Easy | After plunging fails multiple times |
| Adjusting float mechanism | Easy | If adjustment doesn’t fix weak flush |
| Cleaning rim jets with vinegar | Easy | Skip if buildup is severe |
| Replacing flapper | Moderate | If you’re uncomfortable with tools |
| Replacing fill valve | Moderate to Hard | Recommend professional |
| Main sewer line blockage | Not DIY | Call immediately |
| Internal tank damage | Not DIY | Call immediately |
Faulty Flapper or Flush Chain: Silent Saboteurs
The toilet flapper is the rubber seal at the bottom of your tank that lifts during a flush to let water flow into the bowl. As a key component in the flushing process, the toilet flapper is one of the most common parts to wear out, and when it goes bad, it can cause both weak flushes and continuous water loss.
During regular maintenance, it’s important to remove and clean the tank lid to prevent sediment buildup and to inspect the toilet flapper for any signs of wear or damage.
Inspecting internal parts of the toilet annually can help identify wear or damage, and regular maintenance of the toilet components is essential for ensuring proper flushing functionality.
Signs of a Worn or Damaged Flapper
Take a look at the rubber flapper and check it for cracks, warping, or mineral deposits. If it looks cracked, discoloured, or no longer seals completely against the opening, it’s time for a replacement. A worn flapper allows water to slowly leak from the tank into the bowl, which reduces the water available for a full flush.
You might also notice something called phantom flushing. That’s when the toilet suddenly refills on its own without being flushed. It’s water leaking past the flapper that triggers the fill valve to cycle on automatically.
Checking and Adjusting the Chain Tension
The chain connecting the flush handle to the flapper needs just the right amount of slack. If the chain is too tight, it prevents the flapper from sealing completely, causing water to leak continuously. If it’s too loose, the flapper won’t lift high enough during a flush, limiting water flow and creating that weak flush problem.
There should be about half an inch of slack in the chain when the handle is at rest. If you need to adjust it, disconnect the chain from the flush lever, shorten it by one or two links (move it to a different hook position), and reconnect. Test the flush. It should feel normal and water should empty fully.
When Replacement is the Only Fix
Here’s the good news: flappers are inexpensive and relatively easy to replace. If adjustment doesn’t help or the flapper is visibly damaged, replacement is your best bet. Turn off the water supply, flush to empty the tank, unclip the old flapper from the overflow tube, and install the new one. You can get them at any hardware store and they come in standard sizes.
Tools & Parts You’ll Need for Common Fixes
| Fix | Tools Needed | Parts Needed | Cost |
|---|---|---|---|
| Plunging a clog | Flange plunger | None | $15-40 (plunger) |
| Adjusting water level | Screwdriver or adjustable wrench | None | $0 |
| Cleaning rim jets | Wire hanger, old toothbrush | White vinegar | $0-5 |
| Replacing flapper | Screwdriver (optional) | New flapper | $5-15 |
| Replacing fill valve | Adjustable wrench, screwdriver | New fill valve | $15-40 |
| Unclogging with auger | Toilet auger | None | $20-50 (rental) |
Mineral Buildup Blocking Rim Jets: A Hard Water Problem
Under the rim of your toilet bowl are small holes called rim jets. During a flush, water flows through these jets to create a swirling, circular cleaning action. Over time, especially in areas with hard water, mineral deposits like calcium and lime accumulate and block these jets. The siphon jet, located at the bottom of the bowl, is also crucial for generating the strong suction needed for a complete flush, so keeping the siphon jet clean is essential for proper flush performance.
When rim jets become clogged, water flow gets restricted, and your flush loses its cleaning power. You might notice water trickling weakly into the bowl instead of flowing strongly, or an uneven flush pattern where some areas of the bowl aren’t being cleaned effectively.
Using a water softener in hard water areas can minimize calcium buildup in the toilet.
How Calcium and Lime Deposits Form
Hard water, which is water with high mineral content, is common in Sydney and surrounding areas. As water evaporates or sits in the rim feed channels, it leaves behind mineral residue. Over months and years, this buildup restricts water flow and weakens your flush.
Cleaning Rim Jets with Vinegar and Wire Hangers
Here’s an effective natural cleaning method that works well:
- Turn off the water supply to the toilet
- Hold the flapper open to let the tank drain
- Pour 1 to 2 cups of white vinegar down the overflow tube into the tank
- Let it sit overnight so the vinegar can dissolve mineral deposits
- Using a straightened wire coat hanger with a small hook at the end, carefully insert it into each rim jet hole
- Work the hanger in and out gently to dislodge buildup
- Turn the water supply back on and flush several times to rinse away loosened deposits
For stubborn buildup, you can use a commercial toilet bowl cleaner instead of vinegar. But vinegar is gentler on your pipes and the environment, so it’s worth trying first.
Prevention in Hard Water Areas
If you’re in a hard water area, make rim jet cleaning part of your regular maintenance routine. A quarterly vinegar soak followed by gentle cleaning will keep your jets flowing freely and your flush powerful year after year.
Common Toilet Problems at a Glance
| Problem | Symptoms | DIY Solution | Professional Help If |
|---|---|---|---|
| Toilet clog | Water backs up, slow drain, rising bowl level | Plunger or auger | Clog returns repeatedly |
| Low water level | Weak or incomplete flush | Adjust float or fill valve; for older toilets with minor issues, try adding baking soda to help clear minor blockages or inefficiencies | Adjustment fails |
| Worn flapper | Phantom flushing, water leak into bowl | Replace flapper (easy) | Chain misaligned |
| Rim jet blockage | Weak swirl, uneven cleaning, water trickles | Vinegar soak and wire cleaning | Heavy mineral buildup |
| Broken fill valve | Tank won’t fill or refills slowly | Can’t fix without replacement | Requires professional tools |
| Sewer line blockage | Multiple drains slow, gurgling sounds | None possible | Call immediately |
When to Call Rapid Service Plumbing
Not every toilet problem is a DIY fix. Knowing when to call a plumber saves you time, water, and potential damage to your plumbing system. Issues with water pressure, such as airlocks or air trapped in pipes, can cause improper flushing and often require a plumber’s expertise.
Persistent Clogs Despite Plunging
If you’ve plunged thoroughly and the clog still won’t budge, the blockage is probably deeper in your drain line where a simple plunger can’t reach. A professional plumber has specialised equipment like motorised augers and hydro jets to clear stubborn blockages safely without damaging your pipes.
Multiple Drains Backing Up
This one’s important. If your toilet is slow to drain and your sink or shower drains are also backing up, you may have a blockage in your main sewer line. This is beyond DIY territory and requires a professional assessment and potentially specialised equipment to diagnose and clear.
Broken Internal Tank Components
Repairs to the cistern’s internal mechanisms like the fill valve, flush valve, or flapper assembly are often best left to a professional. Water damage from improper repairs can be costly, and you risk ending up with a toilet that doesn’t work at all.
Why DIY Repairs Can Sometimes Make Things Worse
Some toilet problems look simple but have hidden complexity. What appears to be low water level might actually be a faulty fill valve that needs replacement, not just adjustment. Attempting the wrong fix can damage seals, strip threads, or crack porcelain, turning a simple problem into an expensive one.
Bathroom Drain Blocked? We Can Help!
Have you saved yourself a few bucks by not having to call the plumber? No? Well, there’s still no reason to worry – because the friendly, fully-licensed and highly experienced team at Rapid Service Plumbing is only ever just around the corner. We service the entire Sydney metropolitan region and beyond including Canterbury-Bankstown, City of Sydney, Inner West, Eastern Suburbs, Hills District and Sutherland Shire. We provide upfront pricing, and we guarantee the quality of our workmanship.
So don’t throw that plunger across the room when a toilet not flushing properly is giving you grief – and instead call the talented team of fully-licensed Sydney plumbers right here at Rapid Service Plumbing. Give us a shout today!
Key Takeaways
Most clogged toilets and low water level issues make up the majority of flushing problems, and they’re often fixable in minutes with basic tools. You typically don’t need professional help for these.
Most toilet problems develop slowly, which is good news because it gives you time to address them before they become emergencies.
Plunging correctly (tight seal, vigorous motion) solves most clogs without professional help. It’s worth learning how to do this right.
Water level should sit approximately one inch below the overflow tube for your toilet to flush properly. That’s your target.
Mineral buildup in rim jets can be prevented with regular vinegar soaks. This is especially important in hard water areas.
Know your limits though. Persistent problems, multiple backed up drains, or broken internal components warrant professional diagnosis and repair.
Regular maintenance is honestly your best insurance against costly toilet problems and water waste down the track.